Stenciled Card with Distress Oxide Ink

I just acquired all the Tim Holtz Distress Oxide inks and had to play with them. After several hours, I had lots of panels to use for card backgrounds. My favorite is pictured above, attached to a kraft colored panel and card. In my first video ever, I demonstrated how I made the stenciled panel and card. You can see the video on Youtube:
If you don't want to watch the video ( it's longer than it should be - I'm still learning) I'll go through the steps here:
Supplies:
Cracked Pistachio Distress Oxide ink
Ranger blending tool with sponge
A2 size Kraft card
Kraft cardstock
Kaisercraft 12 x12 Mini Mix stencil
Spray bottle filled with water
Scor-tape
Kraft colored ribbon
Decorative button
String
Nuvo Deluxe Adhesive Clear Drying Craft Glue
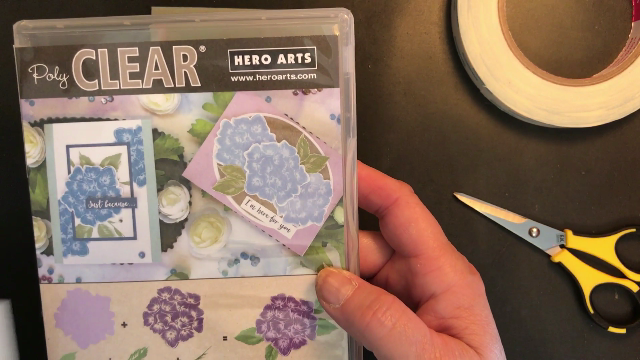
Hero Arts Hydrangea Layering Stamp Set
Misti
WOW! Clear Embossing Powder
Label punch
Heat tool
Scissors
Cut a piece of kraft colored cardstock to 3.75" x 5" and tape it to the back of the 12 x 12 Mini Mix Kaisercraft stencil.


Use Cracked Pistachio Distress Oxide ink and the Ranger blending tool to stencil this gorgeous background. This particular stencil has some delicate parts, so pounce in those areas to protect the stencil.

Apply Cracked Pistachio Distress Oxide ink to the edges of the stenciled panel, just as you would with regular Distress Ink. The Oxide ink blends beautifully - it's so much easier to blend than regular Distress Ink! The magic of this ink happens when you mist it with water. Hold the spray bottle about 18" above the panel and spritz it about three times - the color brightens and almost seems to glow.


Rub Cracked Pistachio Oxide ink to the edges of the front of the A2 size card base so it will be the same color as the stenciled panel. Then mist it just like the stenciled panel.

Attach the stenciled panel to a 4" x 5.25" piece of plain kraft cardstock.

The button used to embellish the ribbon has a shank, so cut a slit in the middle of the ribbon and push the button through.


Wrap a piece of string around the center of the ribbon and through the hole in the shank of the button - tie off the string and snip the ends.


Scor-tape is to be the best way to attach ribbon, so apply two pieces of tape to the back side edges of the stenciled panel assembly and pull off the tape backing.


Carefully line up the ribbon, wrap the ends around the panel assembly and stick them to the tape.

Snip off the excess ribbon.

Sttach the panel assembly to the front of the card base, centering in the space.

For the sentiment, use "just because..." from the Hero Arts layering stamp set called Hydrangeas.

The Misti tool is wonderful to assure a good stamped image! Set it up with a scrap of kraft colored cardstock and ink the stamp with Cracked Pistachio Distress Oxide ink.


Because this ink is a fusion of both dye and pigment inks, it stays wet just long enough to add WOW! clear embossing powder. Heat the embossing powder until it melts and becomes shiny.

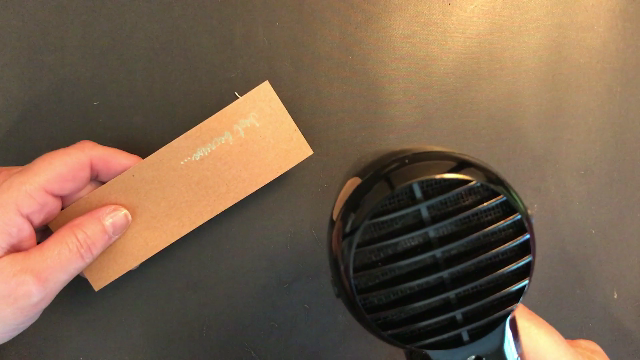
Use a punch to cut out the sentiment.

Use Nuvo Deluxe Adhesive Clear Drying Craft Glue to attach the sentiment to the lower front of the card. This adhesive from Nuvo is great - the narrow tip doesn't clog and the glue dries to a matte finish.


That's it!! I love how elegant this simple card looks!
No comments:
Post a Comment