I'm back from a quick visit to our home in Estes Park with my younger son. He rode his motorcycle and played a video game while I caught up on my scrapbooking. Now it's back to editing the video I made before I left and making this accompanying blog post. Since I'm still learning how to edit a video, the sound is a little rough in spots and I don't know how to fix it. Being an impatient person, I went ahead a posted the video, anyway, so I can get on to the fun part - making another video. But first, I need to finish this blog post. Here's the link to the video:
https://www.youtube.com/watch?v=QOvAUkKtVig&t=1s
The front of this card is supposed to resemble aged wallpaper.
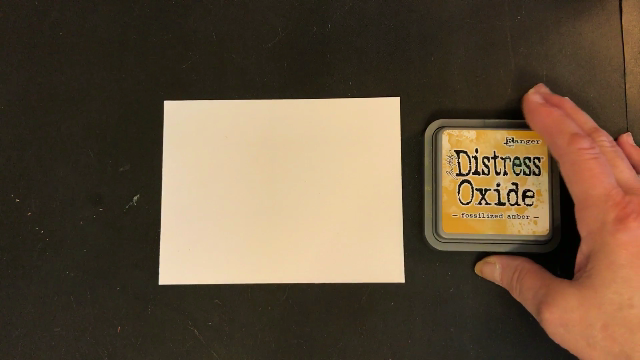
Use Fossilized Amber Distress Oxide Ink for the background by pressing the ink onto my work surface and spraying the ink with water.
Then "smoosh" a 5.5" x 4.25" piece of white card stock through the ink. Use a heat tool to dry the panel while spraying it from above with more water, to give it a speckled look.
Use a paintbrush and more water to add larger droplets to the card and dry it again.

Use Kaisercraft's 12 x 12 Mini Mix Stencil to add the fleur-de-lis pattern to the panel.
After lining up the panel with the corner of the stencil, use Orange Marmalade Distress Oxide Ink and a Distress Applicator tool to color in the centers of each fleur-de-lis pattern.
Use Fired Brick Distress Oxide Ink to color in the edges of each fleur-de-lis pattern,blending into the Orange Marmalade sections.
Because the stencil is smaller than the cardstock panel, move the stencil, lining up with the previously stenciled sections, to finish the front.
Next spray the panel with more water and driy it with a heat tool. This final spray will allow the stenciled design to blend into the Fossilized Amber background just a little bit, giving the panel a more aged look.
Now for the embossed part - insert the panel into Kaisercraft's Tiny Roses embossing folder and run through a die cutting machine.
This will give a subtle texture to the panel.
From white card stock, cut a decorative border using Our Daily Bread's Art Deco border die.
Ink the center of the border with Orange Marmalade Distress Oxide ink.
Ink the outside edges of the border with Fired Brick Distress Oxide Ink.
From white card stock, cut the sentiment using Our Daily Bread's Faith border die.
Also cut a strip of white card stock to the same width as the line under the word Faith.
Ink the Faith border and thin strip of card stock with Fired Brick Distress Oxide Ink.
Weave a piece of 1/8" wide satin ribbon through the lacy Art Deco Border.
Attach the border to the front of the panel, about 3/8" from the bottom, using small dots of Nuvo Deluxe Adhesive.
Attach the Faith border above the Art Deco border and the inked strip below the border, using Nuvo Deluxe Adhesive.
Flip the panel over and attach the ribbon ends to the back of the panel using small pieces
of Scor-tape.
Trim off the ends of the inked card stock strip, even with the panel.
Attach the panel to the front of a white card base with Scor-tape.
Use a Craft-deebowz maker to tie two identical bows from the 1/8" wide ribbon.
Instructions for using the bow maker and included in the packaging. If you tie a square knot, you can use this fantastic tool.
Once tied, these bows will not come undone.
Use Nuvo Deluxe Adhesive to attach the bows to the Art Deco border.
Your beautiful card is ready to send to a friend.
Visit Paper Arts, 632 W. Edmond Road, Edmond, Oklahoma for all your crafting needs.
Follow the store on Facebook for all the latest news about new products and classes.