Wednesday, April 15, 2015

Yesterday, I finished the sample for a class at Paper Arts on Wednesday, May 20 at 10:30.  I call it a "Party Book" using the "Pop" paper line from Kaisercraft.  Magnets hold the cover closed.  Call the store to reserve your spot - 405-330-2055.  There's only 4 spots left!

 This mini-album has a soft spine and each page opens to reveal spaces for 40 photos.
When you open the front cover, this is what you will see.  The left side features a flap with a belly band. The section labeled "Hip Hip Hooray" slides out to the top - it has two photo mats.
When you open up the left flap, you find two folders inserted into vertical belly bands - each has 3 photo mats.  The yellow section with "Life should not only be lived, it should be celebrated" pulls out to reveal a folded card with 5 photo mats and a designated section for journaling.

When you open the center section labeled "FUN" (see the 2nd photo) the left side has corner pockets to hold an insert that has two photo mats and a designated journaling space.  The right side has a green flip-out pocket on the bottom (matted in red) with a small pocket on the front and a photo mat on the back.  It holds a white insert with 2 photo mats on one side and a large section on the back for your own creativity.  The base page has the label "Hooray" with the rest open for a large photo.
With the right side opened, you can see the waterfall section overlapping a pocket.  The pocket contains an insert with 2 photo mats, while the waterfall section has places for 7 photos.  The corner pockets on the right holds a card with a photo mat on the front and an area on the back for a large photo.
I hope you don't mind a little advertisement for an upcoming class at Paper Arts.
 I call this the "Seed Packet" album because the paper used for the photo mat card inserts looks like seed packets for beautiful flowers.  The pages are made from paper sacks using Kathy Orta's hidden hinge system.  Each page has a top loading pocket with a large insert for adding more photos.  Come join me on Saturday, May 16 at 10 AM at Paper Arts in Edmond, OK to make this beautiful mini album. Call the store to reserve your spot, 405-330-2055.
Lately I've been on a card making binge.  I guess they are quick to make and give pretty instant gratification.  Also, I'm in a Stamp Club with designated themes for each meeting.  So, I've been working ahead to have my cards ready early.
Above, a sympathy card using the second set of scripture stamps from Our Daily Bread.  First, I stamped the sentiment and flourish (a really old stamp) in purple StazOn.  Then a used a Hero Arts doily stamp, Versamark ink and clear embossing powder to make the embossed doily.  Then I used a Tim Holtz applicator tool and purple distress ink to add the light purple background.  To further define the doily, I used a baby wipe to gently rub the purple ink from the embossed parts and blend the background.  Lastly I mounted the white panel on a purple card base.

 These are "Send It Forward" cards from Kathy Orta.  Below, you see the inner cards pulled out.  The recipient can use a new card (included behind the original) to write out a new sentiment and send the card to another person.  Visit Paper Phenomenon to get the tutorial for these cards.


Wednesday, January 14, 2015

Wow - I've sure been negligent about posting.  Hopefully I'll do better in the new year.  I don't believe in making resolutions, but I'm trying to read the Bible through this year - so far, so good.  I'm using an app on my phone which makes it easy.

As far as crafting, I've got some pics to share.
This is a table runner I hand quilted on our trip to Austin for Thanksgiving this past year.  Our son lives there and only gets Thanksgiving day off, so we go to see him - it was our 4th year in a row and the 3rd year in a row that my parents went with us.  The previous two years we rented a house for the holiday, but this year we were able to stay in the rent house we purchased for our son to live in.  We also did a little work on the house while we were there.

This is the card I made to swap at Stamp Club about a week ago.  The printed panels were embossed before I cut them apart.  It was a quick and easy card to put together.


This cute box is constructed from chipboard and paper and I used it as a sample and eventually sold it.


Here's the sample from a class I taught at Paper Arts, the LSS here in Edmond.  Each page is constructed from an envelope (which I also made) with a pocket on the back side.  There is a card tucked in the pocket, located under the red flap.


Here's another Christmas box, but this time there's a mini-album tucked inside.


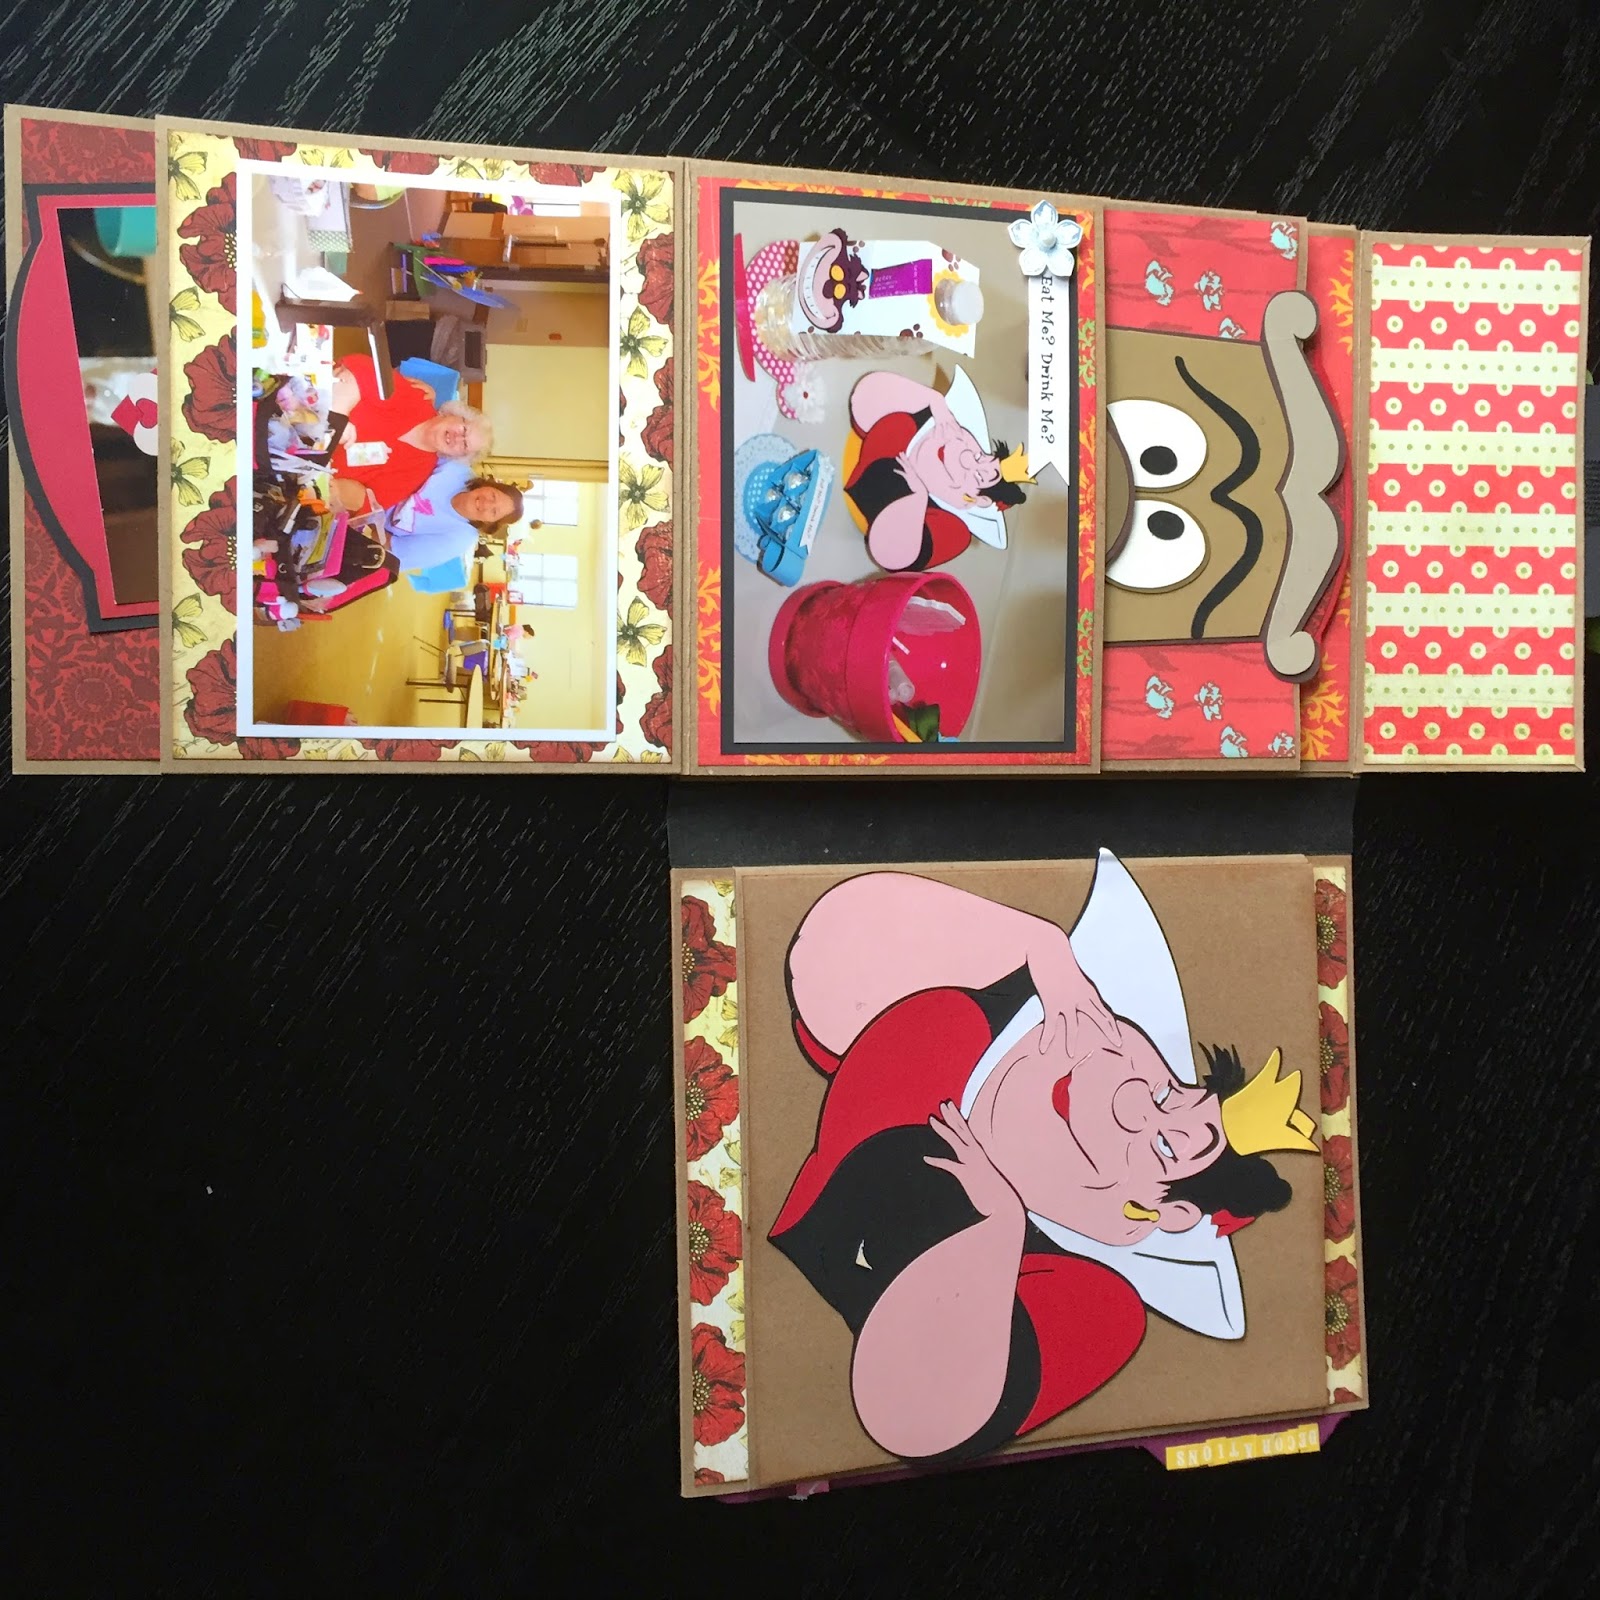
Here a completed mini-portfolio documenting a scrapbooking retreat I attended last August.  I'm sorry that some of the pics are upside down, but I took them on my phone and the software on the computer won't let me edit the pics.  In fact, when I sent the pics to the computer, they turned out to be square shaped, not rectangular.  Fortunately, I just found my camera and in the future I hope to have all those wrinkles ironed out.
 The theme for the retreat was Alice in Wonderland and since I never read that book, I just know a little about some of the characters.  Above, I placed the wooden coaster someone made us as the label on the front cover.


 The clock above opens up to reveal the schedule for the weekend.
 The Queen of Hearts was on my party hat I had to wear for a group picture.
 The brown die-cut was on my sleeping room door.

 The Cheshire cat hung from a water bottle.

Friday, August 15, 2014

It's been 6 months since I last posted and so much has happened.  Been to Barcelona and Alaska.  Officially a designer at Paper Arts.  Begin a new job next month.  But on to the fun stuff - more pictures:
Star Album

Christmas Card Holder

Christmas Card Holder Spine

Tea Break Mini Album

Inside Tea Break - lots of pockets, flippers and insertion points


Inside back cover

Sunday, February 16, 2014

Mini Albums

I love making mini albums.


 Several are on display at Paper Arts in Edmond while a few are for sale on my Facebook page, https://www.facebook.com/pages/Bynancy-Originals/429049100520810.  Stop on by and check them out!

Saturday, January 18, 2014

Christmas Came and Went

I cannot believe that it is almost February and I haven't updated this!!  First, let's take a look at some of the ornaments I made in 2013:


Now, let's see how the house was decorated:


I just love  Christmas decorating.  When everything comes down and gets put away, I kind of go into a funk - the house looks so plain.  However, I've been busy at Paper Arts - see the next update.